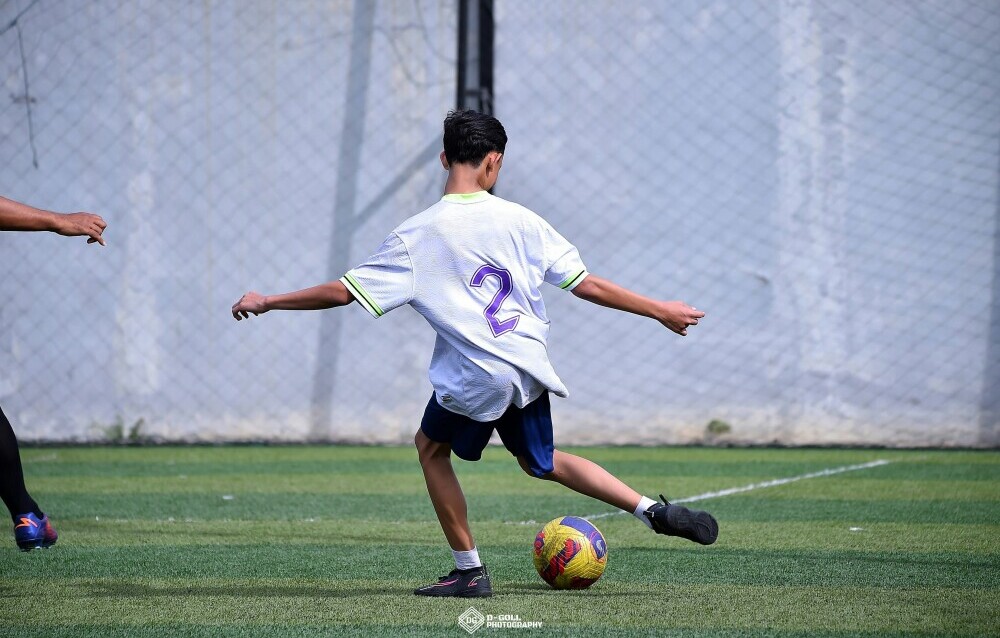
Getting young players comfortable and confident with soccer shooting isn’t just about taking wild shots at goal.
A good shooting practice routine focuses on nailing the basics, building skills in progressive steps, and keeping things fun and positive.
As a coach or parent, I’ve seen how the right routine helps even super shy beginners look forward to training and see real progress in scoring goals.
Here’s how I put together a beginner soccer shooting routine that gets results and keeps everyone smiling on the field.
Why a Well Organized Shooting Routine Helps Beginners
For most young or new soccer players, shooting feels exciting but also intimidating.
I’ve noticed some common hurdles, like trying to blast every shot, losing balance when striking the ball, or simply rushing because they’re not sure what to do next.
A step-by-step routine does more than just improve technique. It gives structure, helps with muscle memory, and breaks things down into bite-sized, achievable chunks.
When shooting starts making sense, confidence soars, and kids enjoy scoring even more.
On top of that, a structured routine gives you a way to track improvements week by week.
Kids see that practice pays off, which keeps them involved and wanting to come back for more.
That repetition, done right, helps turn good shooting habits into long-term skills.
The Basics: What Makes a Beginner Shooting Routine Work
I always break any shooting session into clear phases.
This way, beginners know what to expect, and each section builds on the last one. Here’s a simple breakdown I use for each practice:
- Warm Up: Easy movement and ball touches get bodies ready.
- Stationary Shooting: Focus on foot placement and technique without any movement.
- Shooting with Movement: Add dribbling or passing before the shot to mimic real play.
- Shooting with Light Defensive Pressure: Introduce a gentle challenge with a defender.
- Mini Scrimmage or Game Finish: Create live-game shooting chances and let players apply what they learned.
Each part has a clear goal, so players never feel lost or overwhelmed.
I’ve found this structure keeps sessions zipping along and avoids long lines or too many players standing around getting bored.
Main Principles Every Beginner Needs to Know
Jumping into shooting drills before the basics are nailed down can cause all kinds of bad habits.
These principles set up every drill for success and help players progress quickly:
- Accuracy First: Placing the ball in the target area beats blasting it as hard as possible every time.
- Body Balance: Keeping steady through the shot leads to cleaner, more repeatable technique.
- Both Feet: Encourage use of weaker foot right off the bat—even if just for simple taps.
- Shooting on the Move: Learn to shoot after running or dribbling, not just from a standstill.
- Repetition with Variety: Mix up angles, distances, or which foot is used across drills.
Reminding kids and yourself about these at the start and during practice really helps reinforce good habits for life.
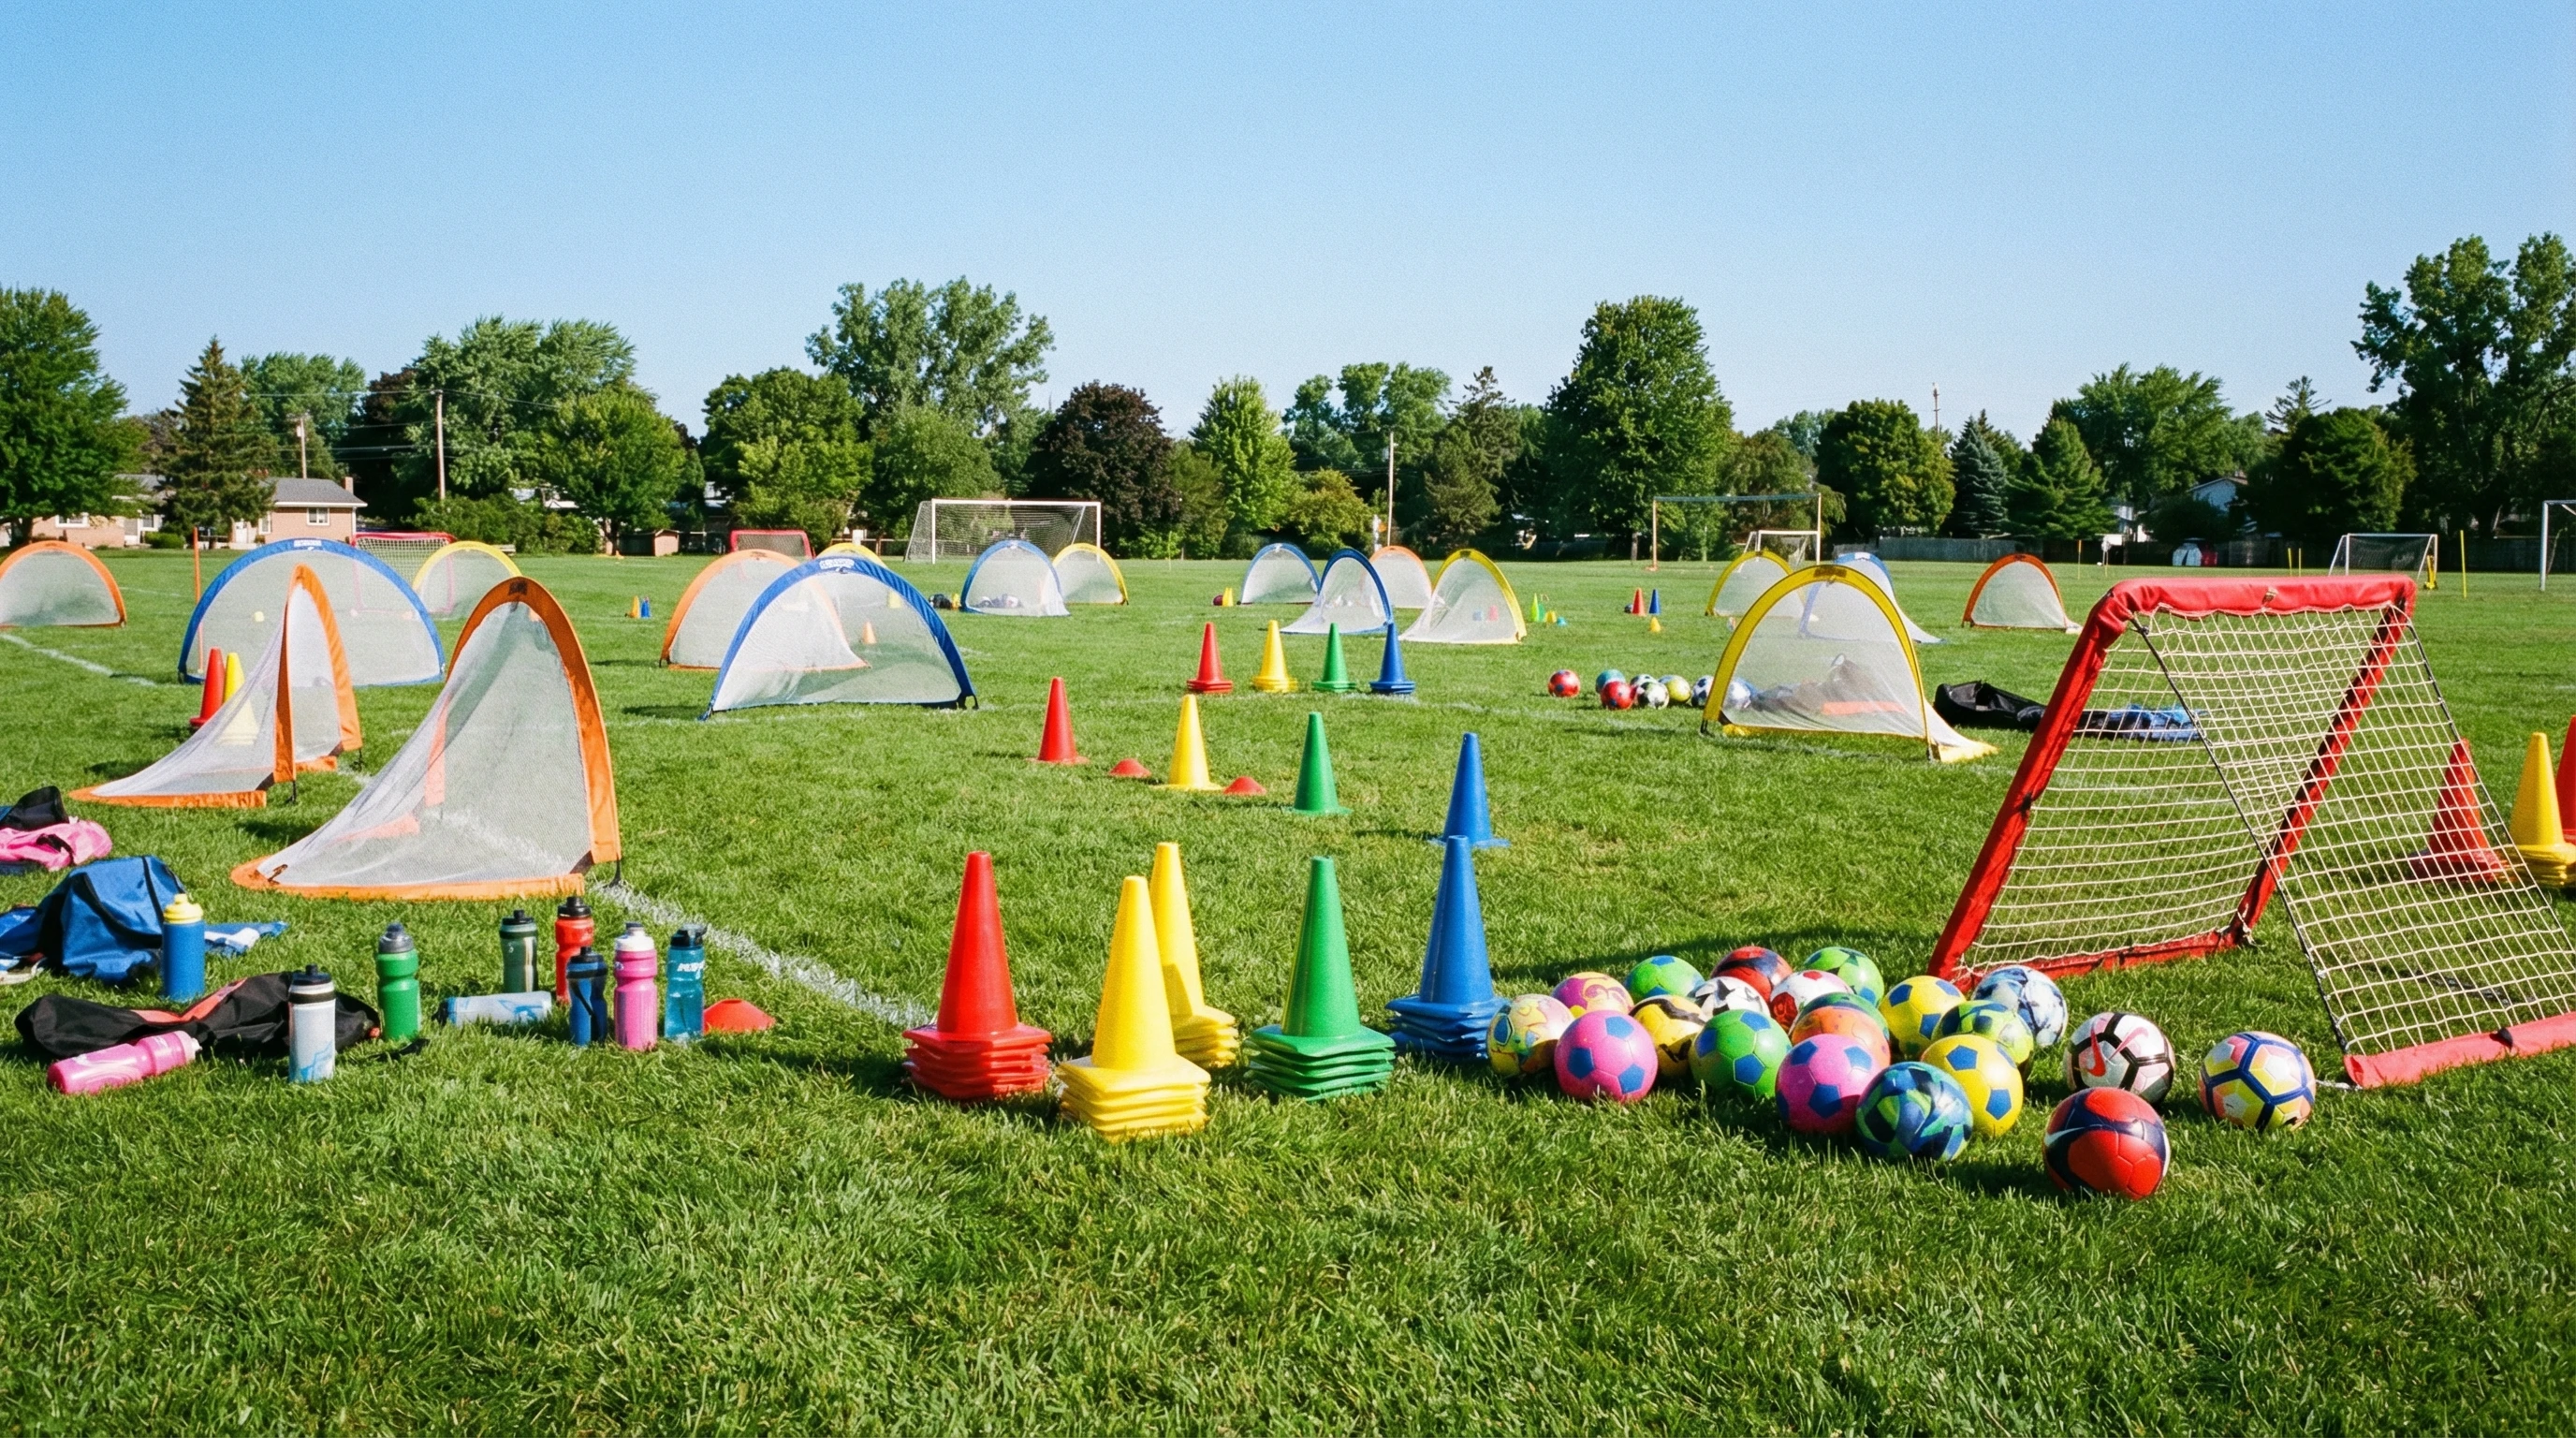
Recommended Equipment for Beginner Shooting (Plus Amazon Suggestions)
A little bit of basic gear makes running smooth, fun practices way easier for new coaches and parents.
Here’s what I always recommend starting with. These Amazon links are handy, plus you can check reviews and prices:
- Soccer Balls (Size 3 or 4): Smaller, lighter balls fit young hands and feet. Starter pack of 3 training balls.
- Pop Up Goals: Perfect for backyard, park, or schoolyard shooting. Portable pop up soccer goal set.
- Rebound Net: Lets single players practice accuracy and first touch. Soccer rebound net for youth.
- Shooting Targets: Easy clip-on targets cue accuracy and focus. Goal target corner set.
- Training Cones & Markers: Used for every drill setup. Basic 50 cone set.
- Agility Ladder (Optional): Fun for warm ups and improving footwork. Speed and agility ladder for kids.
Even a couple pop up goals and a bag of cones make it simple to keep drills organized and engaging.
Most gear is portable, so you can practice just about anywhere.
Warm Up (5–10 Minutes)
Instead of standing around stretching, warm ups in shooting practice need to be active and ball focused.
I usually start with light jogging, easy ball dribbles, and dynamic stretches like high knees, walking lunges, and quick leg swings.
Sometimes I add little passing or ball taps between buddies.
Keeping everyone moving, smiling, and touching the ball gets minds and legs ready for what comes next.
Another activity that boosts excitement is “Freeze Dribble” where kids dribble in a space and, on a whistle, freeze in place balancing the ball.
It adds fun and wakes them up before real shooting starts.
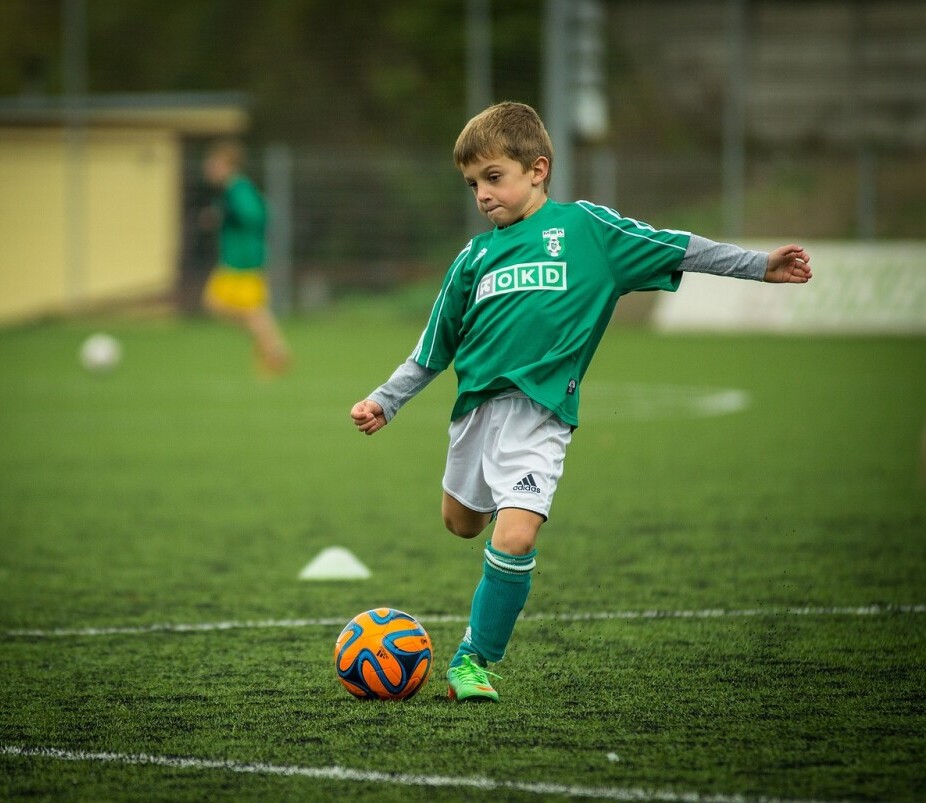
Phase 1 – Stationary Shooting (10–12 Minutes)
This first phase is all about form and technique, not speed or power.
I like these simple drills as a starting base:
- Stationary Ball on Cone: Place the ball on a cone or marker. Players focus on correct planting foot placement and swinging the kicking leg through the ball. It’s about steady balance and clean contact.
- Inside Foot Accuracy: Players pass or shoot gently using the inside of their foot, aiming at specific targets in the goal, like a cone or small goal area.
- Laces (Instep) Strike Drill: Teach beginners to strike the ball with their shoelaces for more distance. Less power, more focus on technique and follow-through.
I keep the balls rolling and players moving, reminding them about body lean, planting foot alignment, and always watching the ball on contact.
It’s super important to cheer even the smallest technical wins at this stage. Confidence really grows here!
For extra variety, you can create color-based target games.
For example, place several colored cones in goal corners and call out a color for the player to aim for. This keeps them focused and adds engagement to the drill.
Phase 2 – Movement and Shooting (10–12 Minutes)
Once kids are getting the hang of shooting from a standstill, it’s time to mimic what actually happens in games.
Players start with the ball at their feet, moving before taking a shot to work on realistic situations:
- Dribble & Shoot: Players dribble just a few steps, set the ball, and shoot.
- Pass, Move, Shoot: Pairs pass back and forth, jog into space, then shoot.
- Cut & Finish: Players receive a pass on the move, control with a touch to the side, and finish on goal quickly.
- Relay Shooting: Form two lines. First player dribbles up, passes across to next in line, who then shoots. Keeps pace quick and reduces wait time.
The phrase I use here is “Recognize your space, don’t just drop your head and shoot.”
Getting used to movement before shooting is a game changer for match performance later.
Adding a dribbling race where players must dribble to a cone and shoot as soon as they reach it can also make this segment more energetic and competitive.
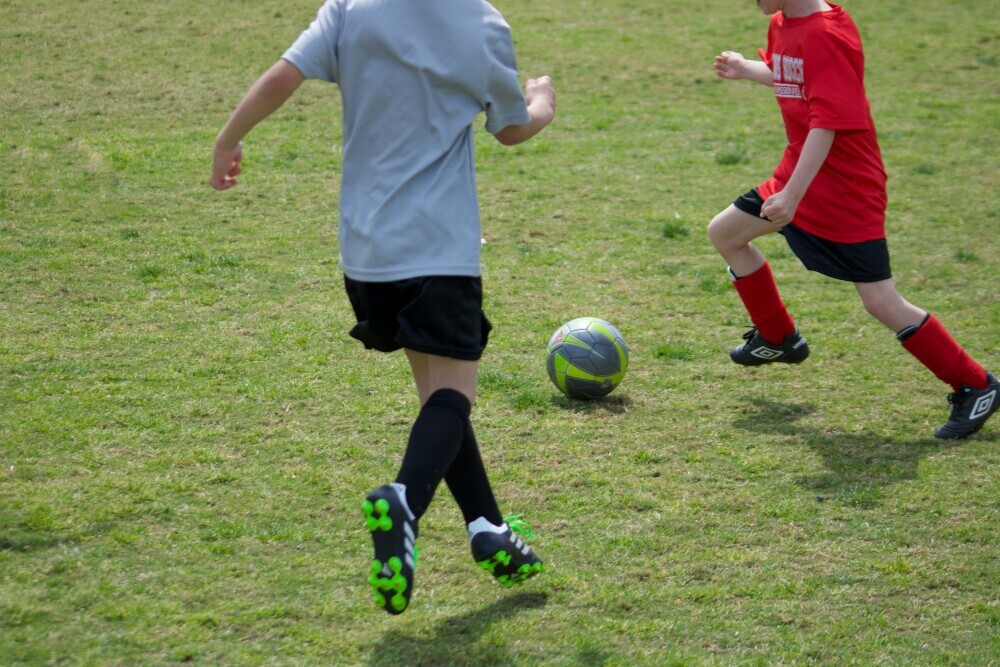
Phase 3 – Introducing Light Defensive Pressure (10 Minutes)
By now, kids are familiar with shooting steps and build confidence in hitting the target.
Adding a defender—even gently—teaches composure and decision-making in real soccer scenarios.
- 1v1 Approach: One attacker faces a passive defender, takes them on, and shoots if they beat the defender or find space.
- Chase and Finish: After a pass, a defender lightly pursues as the shooter tries to finish before close pressure arrives.
- Two-Touch Finish: Allow only two touches before shooting. Encourages quick decisions under pressure.
This is about staying cool, quickly checking the goal and defender, and not rushing the shot just because someone is nearby.
Focusing the player on scanning the field before shooting pays off down the line in real matches.
You can also rotate defenders so that each player gets a turn at both roles, promoting empathy and understanding of both attacking and defending fundamentals.
Mini Scrimmage or Game Finishing (10 Minutes)
Finishing practice with a small mini game is the best way for beginners to use new skills in a playful, team oriented setting.
I mix these up depending on numbers and space:
- 3v3 Mini Game: Players compete in teams to create and score shooting chances, with small pop up goals if available.
- Goal Bonus Rules: Extra point for goals scored with the weaker foot or from specific cone marked zones.
- Last Goal Wins: Creates exciting and dramatic finishes. Encourages constant shooting effort even near the end of practice.
This keeps things competitive, reinforces trying out new skills under light pressure, and lets everyone feel the buzz of real match play to finish off practice.
Plus, there are always smiles and high fives when goals hit the net!
Mini games not only help wrap up a session but ensure that learning is applied in a game setting, which helps cement new skills.
Cool Down and Quick Reflection (5 Minutes)
I wrap up every session with a low key cool down: slow jogging or walking across the field, followed by easy stretching (hamstrings, quads, calves).
While stretching, we do a super quick team chat—what did we do well, and what could we try differently next time?
Keeping the vibe positive helps kids leave the field feeling accomplished and ready to come back.
Sometimes we finish with a “favorite moment” share out.
Kids each recall something they liked about practice, which further builds team unity and positive feelings.
Sample 45–60 Minute
Shooting Practice Flow
SectionTime Focus- Warm Up 5-10 min
Movement + ball familiarity
Stationary Shooting-10-12 min
Technique and form Movement Shooting
10-12 min
Game rhythm shots Light Pressure
10 min
Decision making Mini Game
10 min
Live game finishing
Cool Down 5 min
Recovery and reflection
Common Beginner Mistakes and How to Avoid Them
Even with a great routine, I see a few pitfalls crop up in beginner shooting sessions:
- Going for Power, Not Placement: Players often try to “blast” instead of focusing on accuracy. Remind them to control the shot and hit their target first.
- Making Drills Too Complicated: Simplicity beats complexity when teaching new skills. Break down every skill and add challenges only when kids are ready.
- Too Many Players Waiting: Use more cones and goals to keep everyone active and reduce wait time.
- Not Cheering for Effort: Make a big deal out of every improvement, not just the goals scored.
Being patient and staying positive really moves kids along the learning curve way faster!
Easy Progressions for the Next Level
Once beginners start hitting the basics, these simple tweaks add new layers without overwhelming:
- Add a timing element, such as shooting within two seconds of receiving a pass.
- Ramp up defensive activity, moving from walking defenders to more realistic pressure.
- Encourage finishing with the weaker foot and set small rewards for effort.
- Introduce moving targets or passing sequences before shooting to keep drills exciting.
These changes keep routines fresh, fun, and always just challenging enough to keep everyone improving steadily.
Frequently Asked Questions About Shooting Practice for Beginners
How many times should beginners train shooting per week?
Twice a week gives plenty of repetition for steady progress, but even a single quality session each week leads to visible gains, especially for busy kids.
Should beginners focus more on technique than games?
Technique matters most at the very start. But mixing in small games and fun scrimmages keeps motivation high and lets kids use what they’ve learned without any pressure.
How do I measure improvement in shooting practice?
Watch for smaller wins: better balance, shots on target more often, comfort with both feet, quicker setup before shooting, and a willingness to try new drills. Counting goals helps, but visible improvement is about building confidence and technique first.
Next Steps for Coaches and Parents
Setting up a consistent, progressive shooting routine is a great start for any new soccer player.
For more ideas on skill-building, you can check out guides on more shooting drills or explore ways to boost finishing skills as players develop.
Sticking with regular, simple practice is a game changer for young players aiming for that first big goal celebration!
Here’s a little transparency: Our website contains Amazon affiliate links. This means if you click and make a purchase, we may receive a small commission. Don’t worry, there’s no extra cost to you. It’s a simple way you can support our mission to bring you quality content.”